Maintaining your vehicle’s appearance requires regular care and attention to detail. While many drivers focus on keeping their cars clean, adding a protective layer of wax creates that enviable showroom shine while safeguarding the paint from environmental damage. Just as exceptional auto body repair requires professional knowledge and technique, proper waxing follows specific steps to achieve optimal results. This comprehensive guide breaks down the waxing process into manageable stages, from preparation to final buffing, helping you achieve a professional-quality finish that enhances your vehicle’s appearance and preserves its value.
Gather Your Supplies
Before starting the waxing process, we need to make sure we have all the necessary supplies gathered and ready for use. The key items required are a high-quality car wax, a set of clean and soft microfiber cloths, an applicator pad, and a detailing spray. It’s important to choose a wax that suits your car’s specific paint type to ensure the best results. The microfiber cloths should be free of any debris to prevent scratches during application. An applicator pad helps to evenly distribute the wax, while the detailing spray is useful for prepping the car’s surface. By having these supplies organized and within reach, we can proceed with the waxing process efficiently and effectively, paving the way for a flawless finish.
Wash and Dry Your Car
To accomplish a pristine wax finish, thoroughly washing and drying the car is crucial. Begin by rinsing the car with a hose to eliminate loose dirt and debris. Next, using a high-quality car wash soap and a soft microfiber wash mitt, gently scrub the entire surface of the car to eliminate stubborn dirt and grime. Rinse off the soap thoroughly to ensure no residue is left behind. To prevent water spots, dry the car using a clean microfiber towel, starting from the top and working your way down. Pay special attention to crevices and door jambs where water can hide. Ensuring the car is completely clean and dry sets the foundation for a flawless wax application.
Apply the Wax
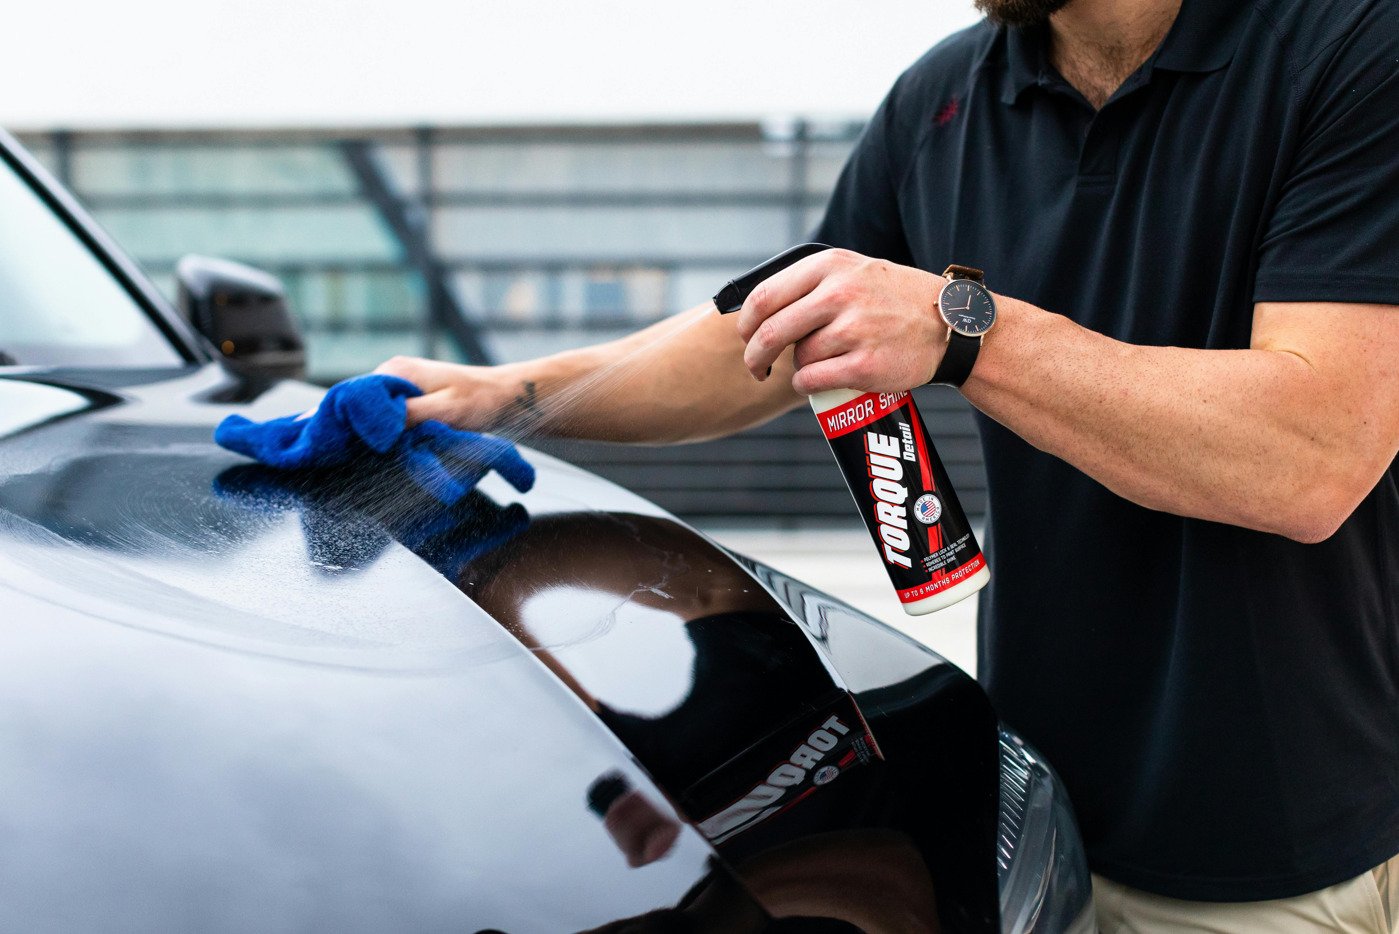
We carefully select a high-quality car wax product that suits the vehicle’s paint type and condition. Before applying the wax, make sure the car is cool to the touch and parked in a shaded area. Using an applicator pad or microfiber cloth, apply a small amount of wax in a thin, even layer to a small section of the car’s surface. Work the wax into the paint using circular motions, ensuring complete coverage. Take care not to apply wax to rubber or plastic trim pieces. Once applied, allow the wax to dry to a haze, typically for about 10-15 minutes, depending on the product. This step is essential for protecting the paint and achieving a deep, long-lasting shine.
Buff the Wax
Once the wax has dried to a haze, it is time to buff the surface to a brilliant shine. Here’s how to achieve that perfect finish:
- Prep the Buffing Pad: Make sure the buffing pad is clean and free of any debris that could scratch the surface.
- Apply Even Pressure: Use a firm, consistent pressure when buffing to evenly distribute the wax and avoid swirl marks.
- Circular Motions: Buff the wax in small circular motions, overlapping each pass slightly to ensure full coverage.
- Check for Uniform Shine: Regularly inspect the surface as you buff to secure a uniform shine without any dull spots.
Following these steps with precision will result in a glossy, showroom-worthy finish.
Finish With a Final Shine
Achieving a flawless ultimate gleam on your car’s waxed surface requires meticulous attention to detail and a methodical approach. Once the wax has been buffed to perfection, it’s time to enhance the shine to its fullest potential. Using a clean microfiber cloth, we delicately buff the surface in small, circular motions. This step helps to eliminate any remaining residue and further improves the gloss. Next, we examine the surface under different lighting conditions to capture any imperfections that may have been overlooked. Any dull spots or streaks are carefully attended to with a gentle touch. Finally, a final once-over with a fresh microfiber cloth ensures a mirror-like finish that reflects your commitment to a flawlessly waxed car.
Other Related Posts: