Finding scratches on your vehicle can be frustrating, especially when they affect your car’s appearance and potentially its resale value. While deep scratches may require attention from a professional auto repair shop, many surface-level scratches can be addressed with the right tools and techniques at home. This guide walks you through a step-by-step process for evaluating scratch severity, preparing the affected area, and applying effective buffing methods to restore your car’s finish. With some patience and careful application, you can often achieve impressive results that dramatically improve your vehicle’s appearance.
Assessing the Scratch Severity
Let’s first examine the scratch severity by carefully inspecting the depth and length of the damage on the car’s surface. Scratches can vary in severity, from light surface scratches that barely penetrate the clear coat to deep scratches that expose the metal underneath. To assess the severity accurately, use a bright light source to illuminate the scratch at different angles. Look for any signs of paint transfer or raised edges, indicating a deeper scratch. Measure the length and width of the scratch to determine the extent of the damage. Understanding the severity of the scratch is essential in selecting the appropriate tools and techniques for effective repair.
Gathering the Necessary Tools
To proceed with addressing the scratches on the car, the first step is to gather the necessary tools for the repair process. Ensuring you have the right tools will help you effectively buff out the scratches on your vehicle. Here are the essential items you will need:
- Microfiber Cloths: These are soft, lint-free cloths that are ideal for wiping and polishing the car’s surface without causing additional scratches.
- Car Scratch Remover: Choose a high-quality scratch remover that matches the severity of the scratches on your car.
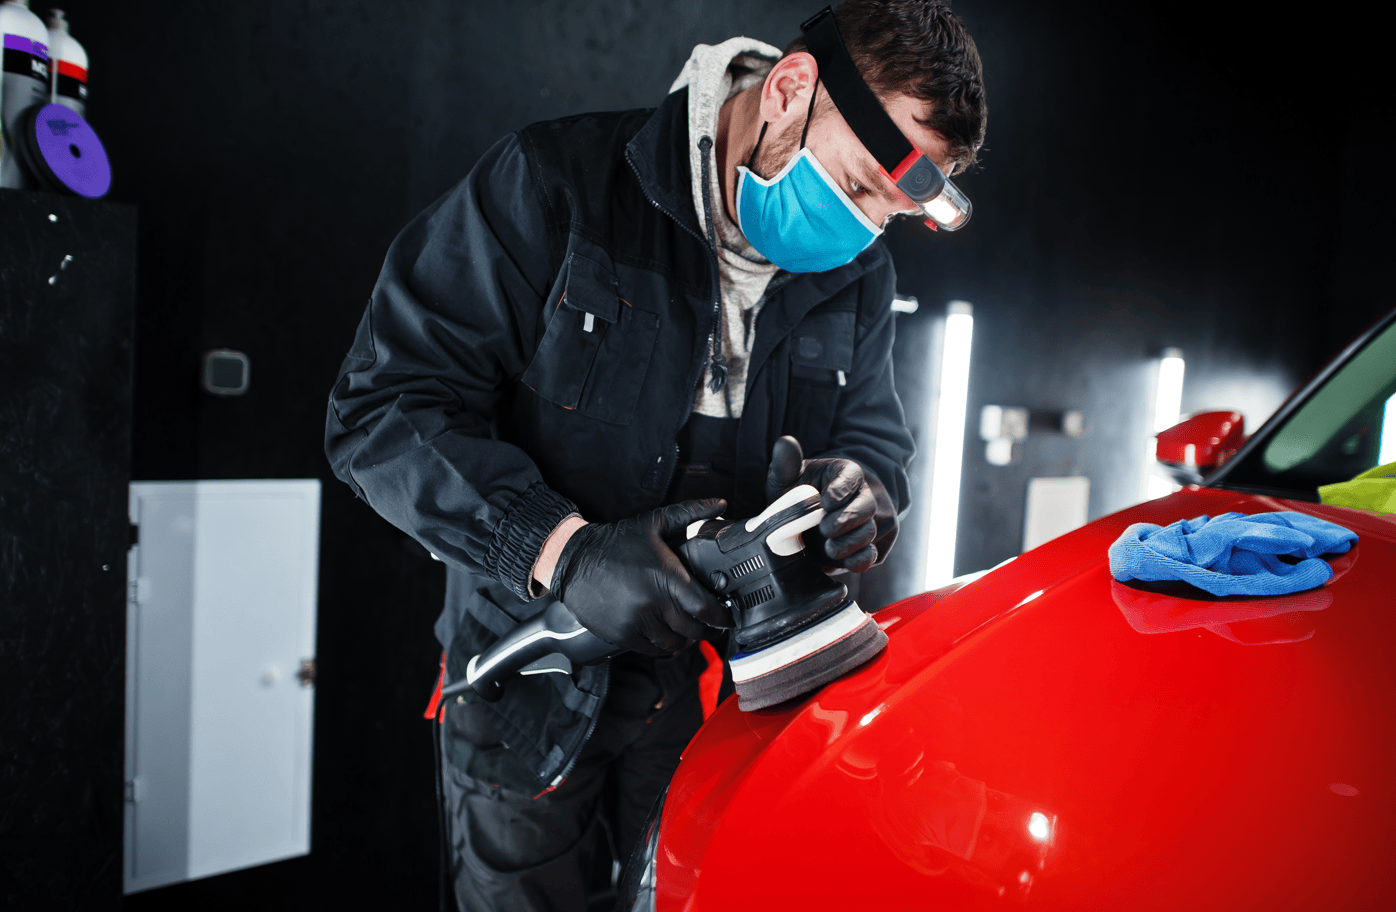
- Dual Action Polisher: A dual action polisher will help you evenly apply the scratch remover and polish the affected area for a smooth finish.
Preparing the Surface for Buffing
Before buffing out the scratches on your car, it is important to prepare the surface adequately for the repair process. Start by thoroughly washing and drying the affected area to remove any dirt or debris that could interfere with the buffing. Next, tape off any adjacent areas to protect them from accidental damage during the buffing process. Inspect the scratches closely to determine their depth and extent, as this will guide you in selecting the appropriate buffing compound and technique. Consider using a clay bar to further clean and smooth the surface before buffing. Ensuring the surface is clean, dry, and properly prepped will help achieve the best results when buffing out scratches on your car.
Applying the Buffing Compound
Begin by applying a small amount of buffing compound onto a clean, soft microfiber cloth. This step is pivotal in the scratch removal process as the compound helps to gently abrade the surface, leveling out imperfections and restoring the shine to your car’s paintwork. Here are three key points to keep in mind when applying the buffing compound:
- Apply with Light Pressure: Gently rub the compound onto the scratched area using circular motions. Avoid pressing too firmly, as this could cause further harm to the paint.
- Work in Small Sections: Focus on one small area at a time to ensure thorough coverage and effective scratch removal.
- Spread Evenly: Make sure the compound is evenly dispersed on the cloth to prevent streaks or uneven results.
Polishing and Finishing Touches
Let’s now explore the final steps of the scratch removal process by addressing polishing and applying finishing touches to the treated area. After buffing out the scratches with a compound, the next critical step is to polish the area to restore a smooth and glossy finish. Use a clean microfiber cloth and a high-quality polish specifically designed for automotive surfaces. Apply the polish in circular motions, working it into the affected area until the scratches are no longer visible. Once the polishing is complete, it’s vital to apply a protective wax or sealant to ensure long-lasting shine and protection against environmental elements. This final touch not only enhances the appearance but also safeguards the treated area from future damage.
Other Related Posts: