Dirty or foggy headlights not only diminish your vehicle’s appearance but also create serious safety hazards by reducing visibility during night driving. Many car owners don’t realize that headlight restoration is a simple maintenance task they can perform at home with the right supplies and techniques. Just as you would trust a reliable auto body repair shop for major vehicle damage, you can trust this comprehensive guide to help you restore clarity to your headlights. The following steps will walk you through the entire process—from gathering supplies to applying protective sealant—ensuring your headlights provide maximum illumination for safer driving conditions.
Gather Necessary Supplies
Let’s begin by gathering all the supplies needed for cleaning the headlights. First, we need a microfiber cloth to wipe away dirt and grime. Next, grab some masking tape to protect the surrounding areas of the headlights from accidental scratches during the cleaning process. You’ll also need a bucket of warm soapy water and a separate bucket of clean water for rinsing. To polish the headlights, have a headlight restoration kit ready, which usually includes sandpaper of varying grits and a polishing compound. Don’t forget to wear protective gloves and safety glasses to shield your hands and eyes from any chemicals. Once all these supplies are assembled, we’re ready to move on to preparing the headlight cleaning solution.
Prepare Headlight Cleaning Solution
To create the headlight cleaning solution, mix a small amount of dish soap with warm water in a bucket until suds form. The dish soap helps break down grime and dirt on the headlights effectively. Make sure the water is warm but not too hot to avoid damaging the headlights. Stir the mixture gently to combine the soap and water thoroughly. The warm soapy solution will aid in softening tough stains and debris on the headlights’ surface, making them easier to clean later. Remember not to use abrasive cleaners or chemicals that could harm the headlights. This simple yet powerful solution is the first step towards achieving clearer and brighter headlights for your vehicle.
Apply Solution to Headlights
Carefully pour the prepared cleaning solution onto the headlights, ensuring complete coverage of the surface. Using a clean microfiber cloth, gently rub the solution onto the headlights in circular motions. This action helps to break down and remove stubborn dirt, grime, and oxidation from the headlight surface. Pay extra attention to any areas with heavy buildup and make sure they receive thorough coverage. After applying the solution, allow it to sit for a few minutes to effectively penetrate and lift the debris. This step is crucial in preparing the headlights for the next phase of the cleaning process. Proper application of the solution is key to achieving optimal results in headlight restoration.
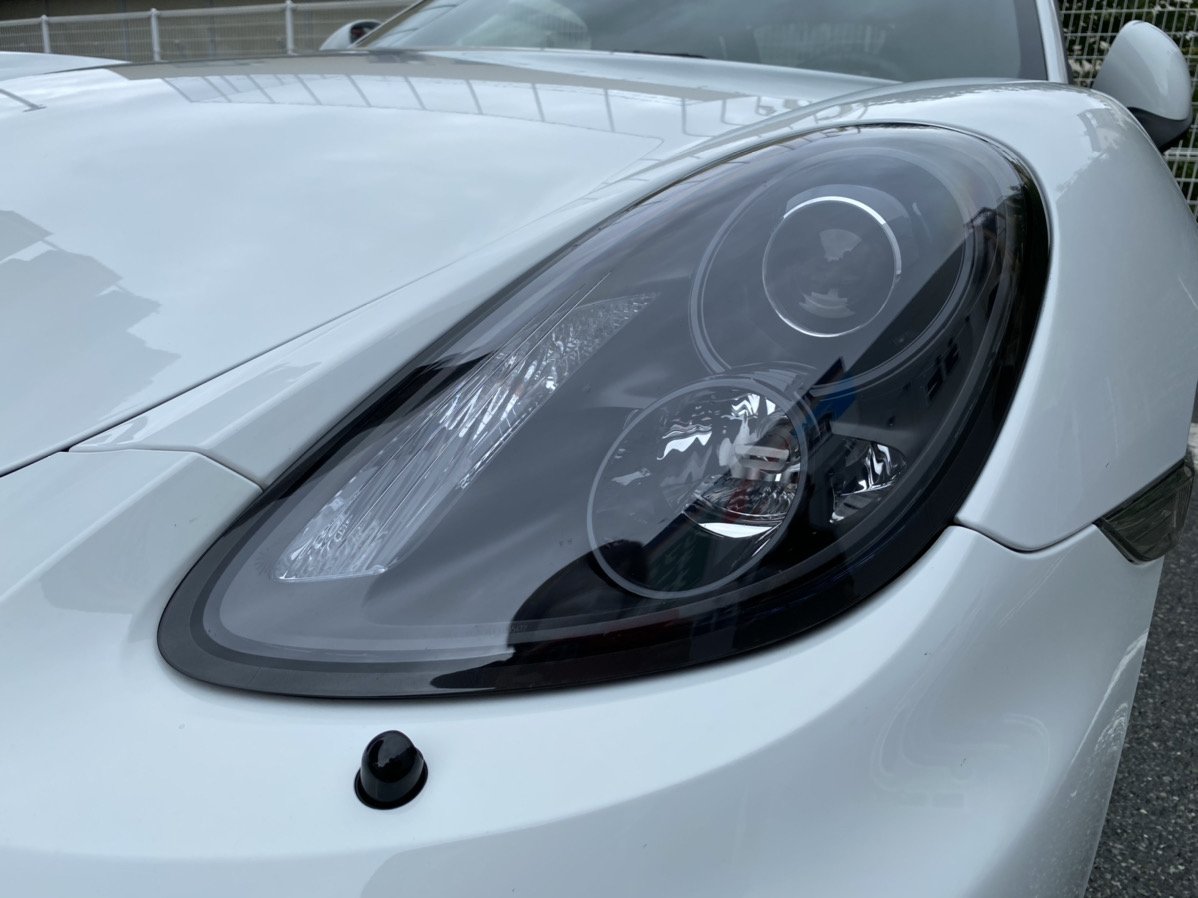
Polish Headlights for Shine
For achieving a glossy finish, utilizing a quality headlight polish is vital. Begin by applying a small amount of polish onto a clean microfiber cloth. Using gentle circular motions, work the polish into the headlight surface. Make sure that the entire headlight is covered evenly. Continue polishing until the surface feels smooth and any remaining foggy areas disappear. It’s important to follow the specific instructions provided by the polish manufacturer to achieve the best results. Once the polishing is complete, inspect the headlights under proper lighting to confirm a uniform shine. Remember, the key to a brilliant finish lies in patience and thoroughness. Now that your headlights are polished to perfection, it’s time to seal them for long-lasting protection.
Seal Headlights for Protection
A protective sealant is essential to safeguard the headlights from environmental elements and maintain their pristine appearance over time. It creates a barrier that shields the headlights from UV rays, dirt, and other contaminants that can cause damage. To effectively seal headlights, follow these steps:
- Clean the Headlights: Make sure the headlights are thoroughly cleaned and dried before applying the sealant.
- Apply the Sealant: Use a microfiber cloth to apply a quality UV-resistant sealant evenly on the headlights.
- Buff and Polish: After the sealant has dried, buff the headlights with a clean cloth to remove any excess product.
- Repeat Regularly: Reapply the sealant every few months to ensure long-lasting protection and clarity.
Other Related Posts: